FAQs
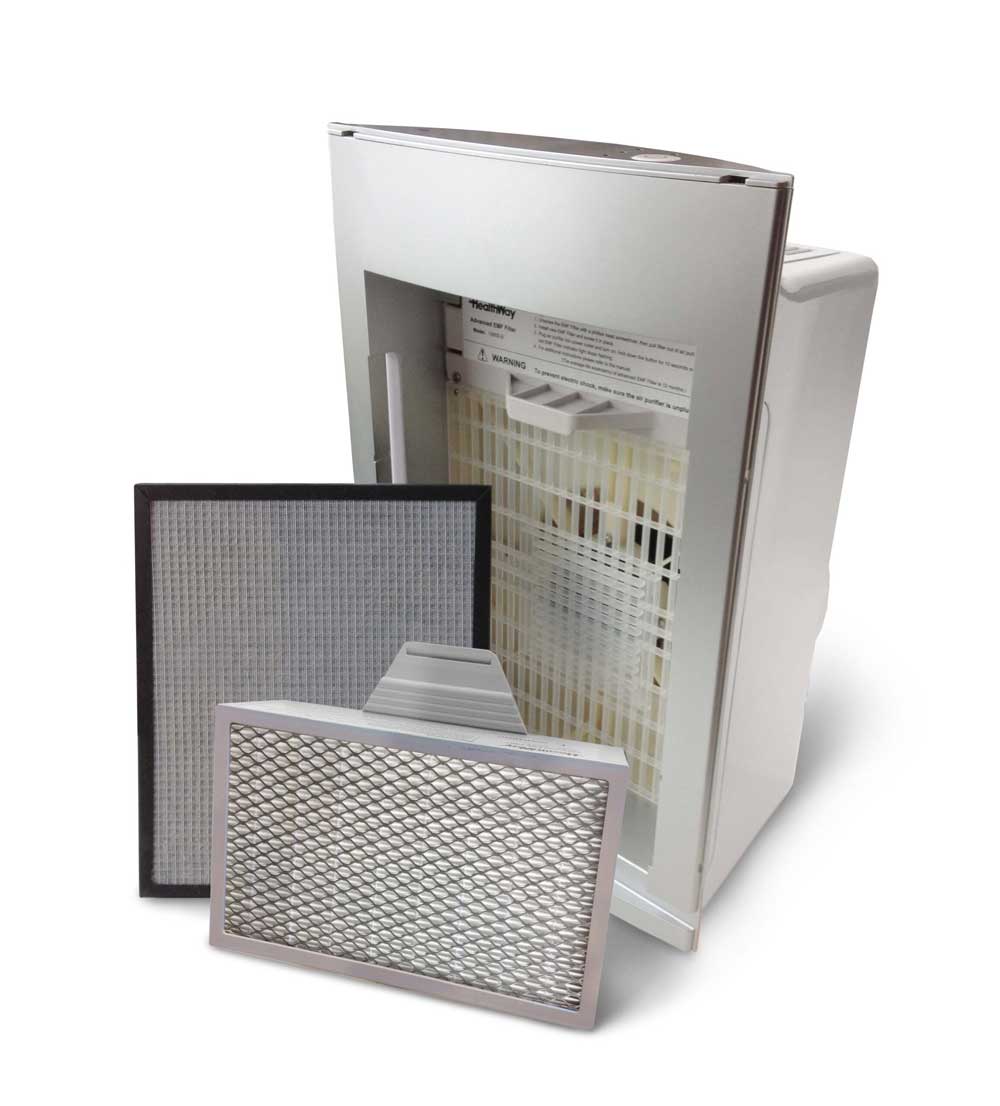
- Your Intellipure® Compact DFS Air Cleaning System Unit
- 6-stage prefilter (inside unit)
- Main filter (inside unit)
- Power cord
- User Manual
- Warranty Card

Congratulations, now let’s get you setup!
- Carefully remove the unit from the carton and remove the dust bag covering the unit. The dust bag prevents scratches and damage to the unit during transportation.
- Each unit comes equipped with, (1) pre-filter and (1) main filter.
- Before powering on your unit, take off your magnetic front cover by using the two bottom tabs on each side of your unit. Simply pull out and lift.
- Remove the plastic wrap on your pre-filter and insert it back into the unit with the airflow and filter description facing up. Each pre-filter is wrapped to ensure freshness.
- Keep it in a dry and cool place. The unit is a plug-and-play design for indoor use only.
- Inspect the power cord for damage. If the power cord is damaged, please contact WellcoPure’s customer service department to obtain a replacement. If your power cord is intact, you may plug in your unit and enjoy exceptionally pure air!
To watch a demonstration on how to replace your Compact filters, please click the video below.
Estimated Time: 7 Minutes
Replacing the Pre-Filter
- First, make sure all power to the unit is shut off.
- Open the front panel, using the side tabs located on the lower panel, and pull towards you, then lift upwards.
- Remove the 6-stage pre-filter. The prefilter can be cleaned monthly by using a small vacuum cleaner wand.
Based on typical use, we recommend replacing this filter every 6 months.
Replacing the Main Filter
- First, make sure all power to the unit is shut off.
- Remove the prefilter by using a screwdriver. Remove the 2 screws holding the filter in place.
- Remove and discard the old main filter. Slide the new main filter into place and secure the main filter with the two screws.
- Reinstall the prefilter and the front cover. To reset the DFS indicator, turn the unit to medium speed and press the power button for 5 seconds.
- When the DFS indicator quickly flashes 3 times, the DFS timer is successfully reset.
Based on typical use, we recommend replacing this filter every 12 months.
Cleaning the High Energy Grid
- Follow the steps (above) of the filter replacement to remove the filters.
- Replace them if needed. Use a pipe cleaner or small vacuum to gently clean the wires on the high-energy grid.
a) POWER Button – to turn unit on or change speed setting.
b) LOW Indicator – when lit in blue, the unit is running at low speed.
c) MED Indicator – when lit in blue, the unit is running at medium speed.
d) HIGH Indicator – when lit in blue, the unit is running at high-speed
e) TURBO Indicator – when lit in blue, the unit is running at the highest speed (setting meant for speed cleaning)
f) DFS Indicator – when lit in blue, the DFS function is on

Our Compact machine has a cleaning capacity of up to 46 square metres and is a great option for a bedroom, small living area, office space, classroom, and more.

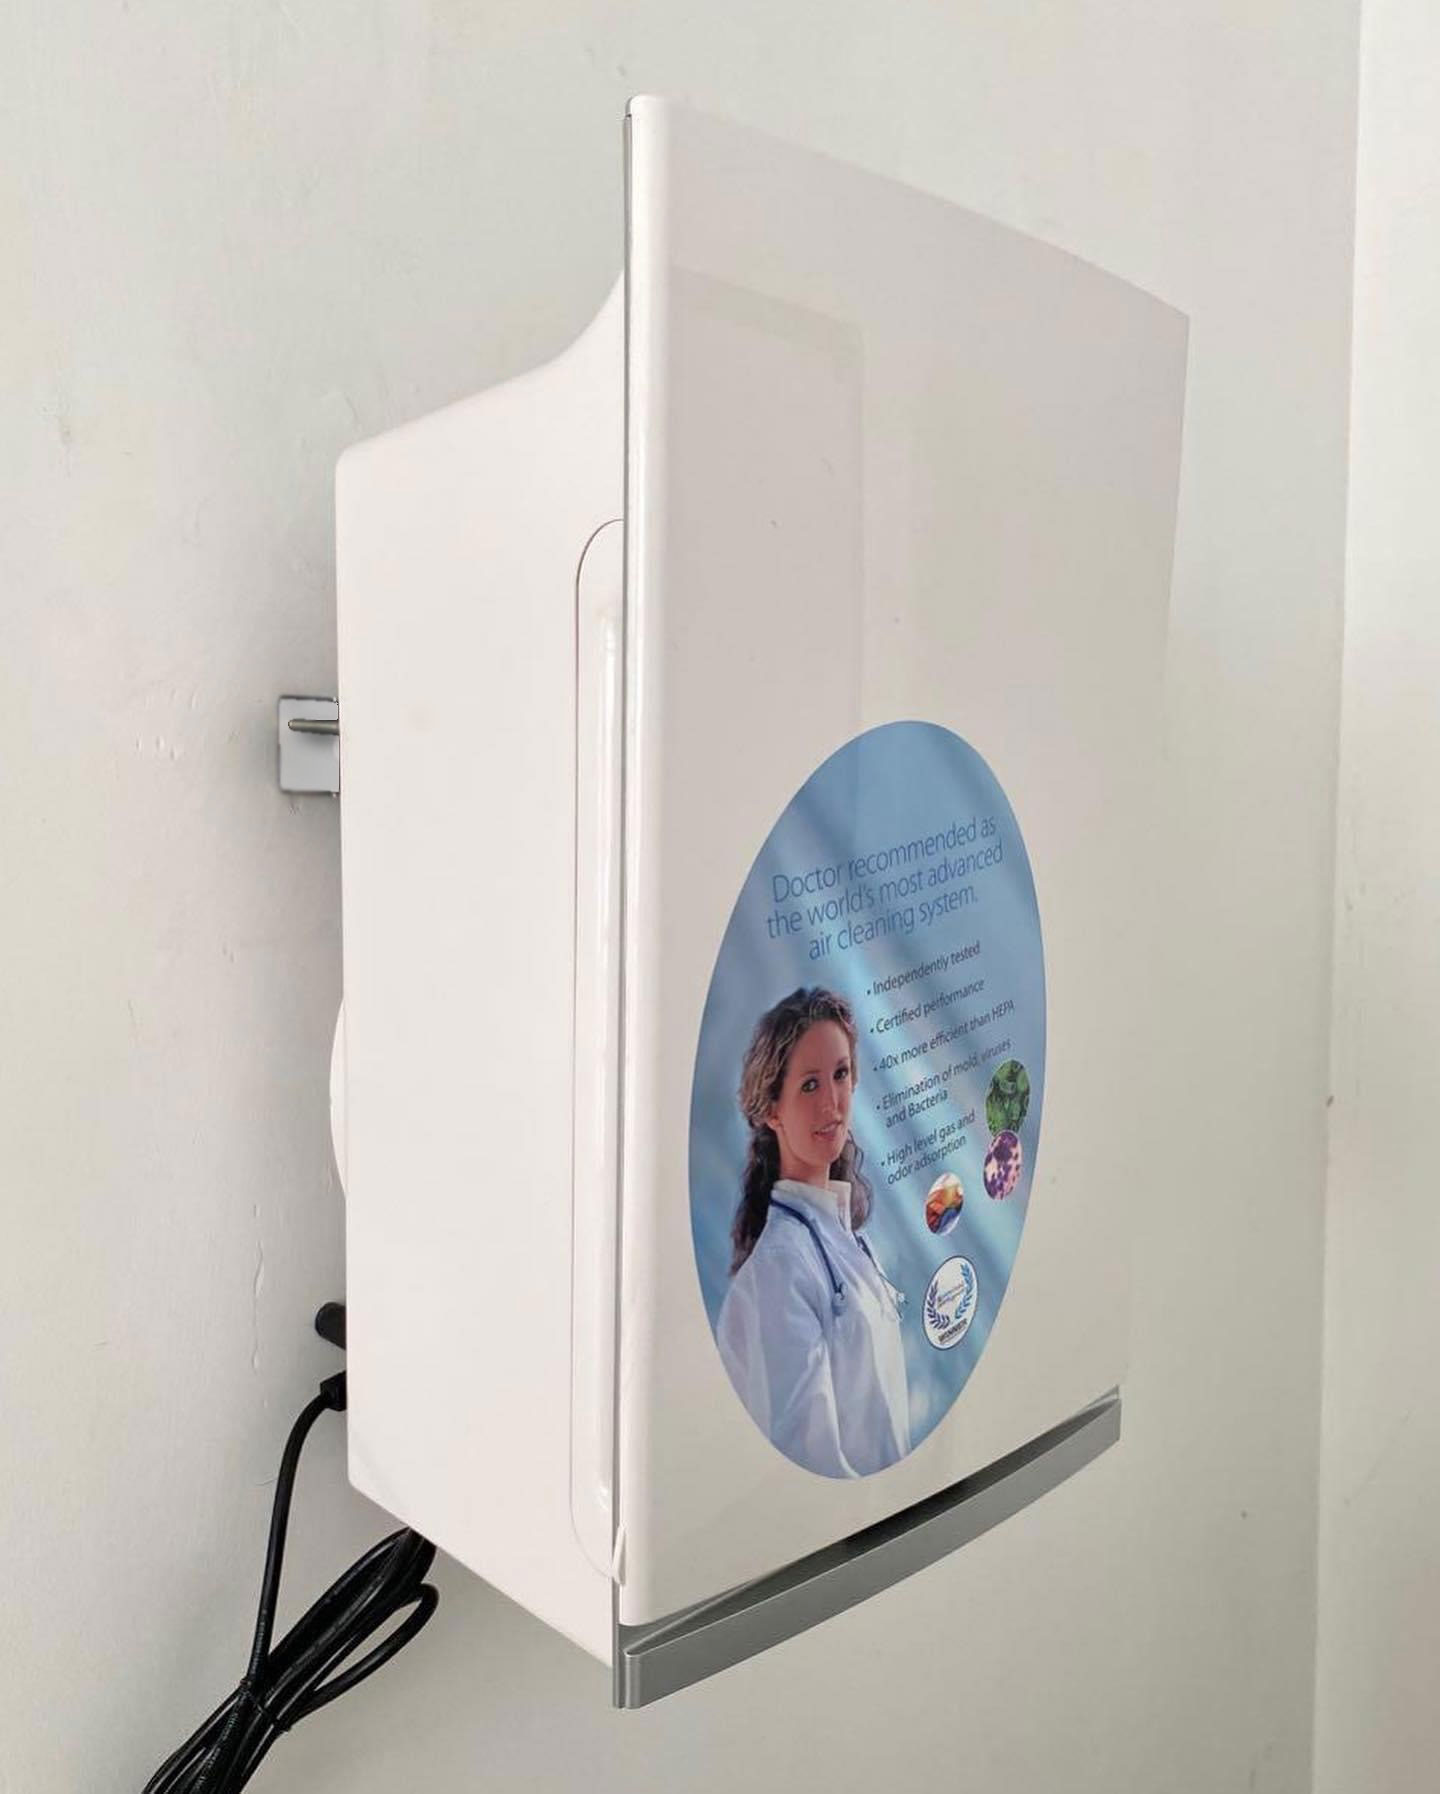
The optional wall mounting comes in separate packaging, and consists of a mounting bracket, screws, wall anchors and an instruction manual.
Unit Preparation
- Using a hexagonal wrench, place inserts into the four holes in the back of of the unit until head of insert is flush with plastic rear housing.
- Start two flat head machine screws through the mounting bracket and fasten against the bracket. DO NOT OVER TIGHTEN.
- Fasten foot pads into the two lower inserts.
Wall Mounting Instructions
- Place wall mounting template, as provided within the instruction in your packaging, on the wall.
- Level template, then mark with pen, then drill 6mm holes using template.
- Push wall anchors into drill holes, and tap with hammer until wall anchors head is flush with wall.
- Using a power drill or screw driver, tighten the two screws until the screw head is approximately 5mm from the head of the wall anchors.
- Position the bracket (attached to the unit) over the head of the screws and let the weight of the unit naturally position itself. Check the power cord and foot pads clearance, adjust screw head distance if necessary.
The Compact Unit’s power consumption ranges from 9 – 65 watts depending on what speed you’re using. Thanks to our design and super-efficient DC motor, the Intellipure Compact can operate for a very low cost!
Congratulations, now let’s get you up and running.
- Carefully remove the unit from the carton and remove the dust bag covering the unit. The dust bag prevents scratches and damage to the unit during transportation.
- Each unit comes equipped with (1) pre-filter, (1) main filter, and (1) post filter.
- Keep your unit in a dry and cool place. The unit is a plug-and-play design for indoor use only.
- Inspect the power cord for damage. If the power cord is damaged, please contact WellcoPure’s customer service department to obtain a replacement. Plugin your unit and enjoy exceptionally pure air!

To watch a demonstration on how to replace your Ultrafine 468 filters, please click the video below.
Estimated Time: 10 Minutes
- Filters need to be replaced and maintained properly to maximize the unit’s performance.
- The maintenance schedule is based on the pollution level. The following maintenance schedule is recommended for most environments.
- Filters need to be replaced/cleaned more often if the unit is being used in a heavily polluted environment.
Replacement schedule:
-
- Main filter – Replace every 9-12 months
- Pre-filter – Replace every 6 months
- Post-filter – Replace every 6 months
Cleaning schedule:
-
- High Energy Grid – Clean every 3 months with a lint-free cloth
- Pre-filter – Every 3 months, gently use a vacuum wand to remove build-up
f-1) VOC Pre-filter indicator
f-2) Change VOC pre-filter indicator
g-1) Main filter indicator
g-2) Change main filter indicator
h-1) VOC post-filter indicator
h-2) Change VOC post-filter indicator
i-1) DFS indicator
i-2) DFS deactivation indicator
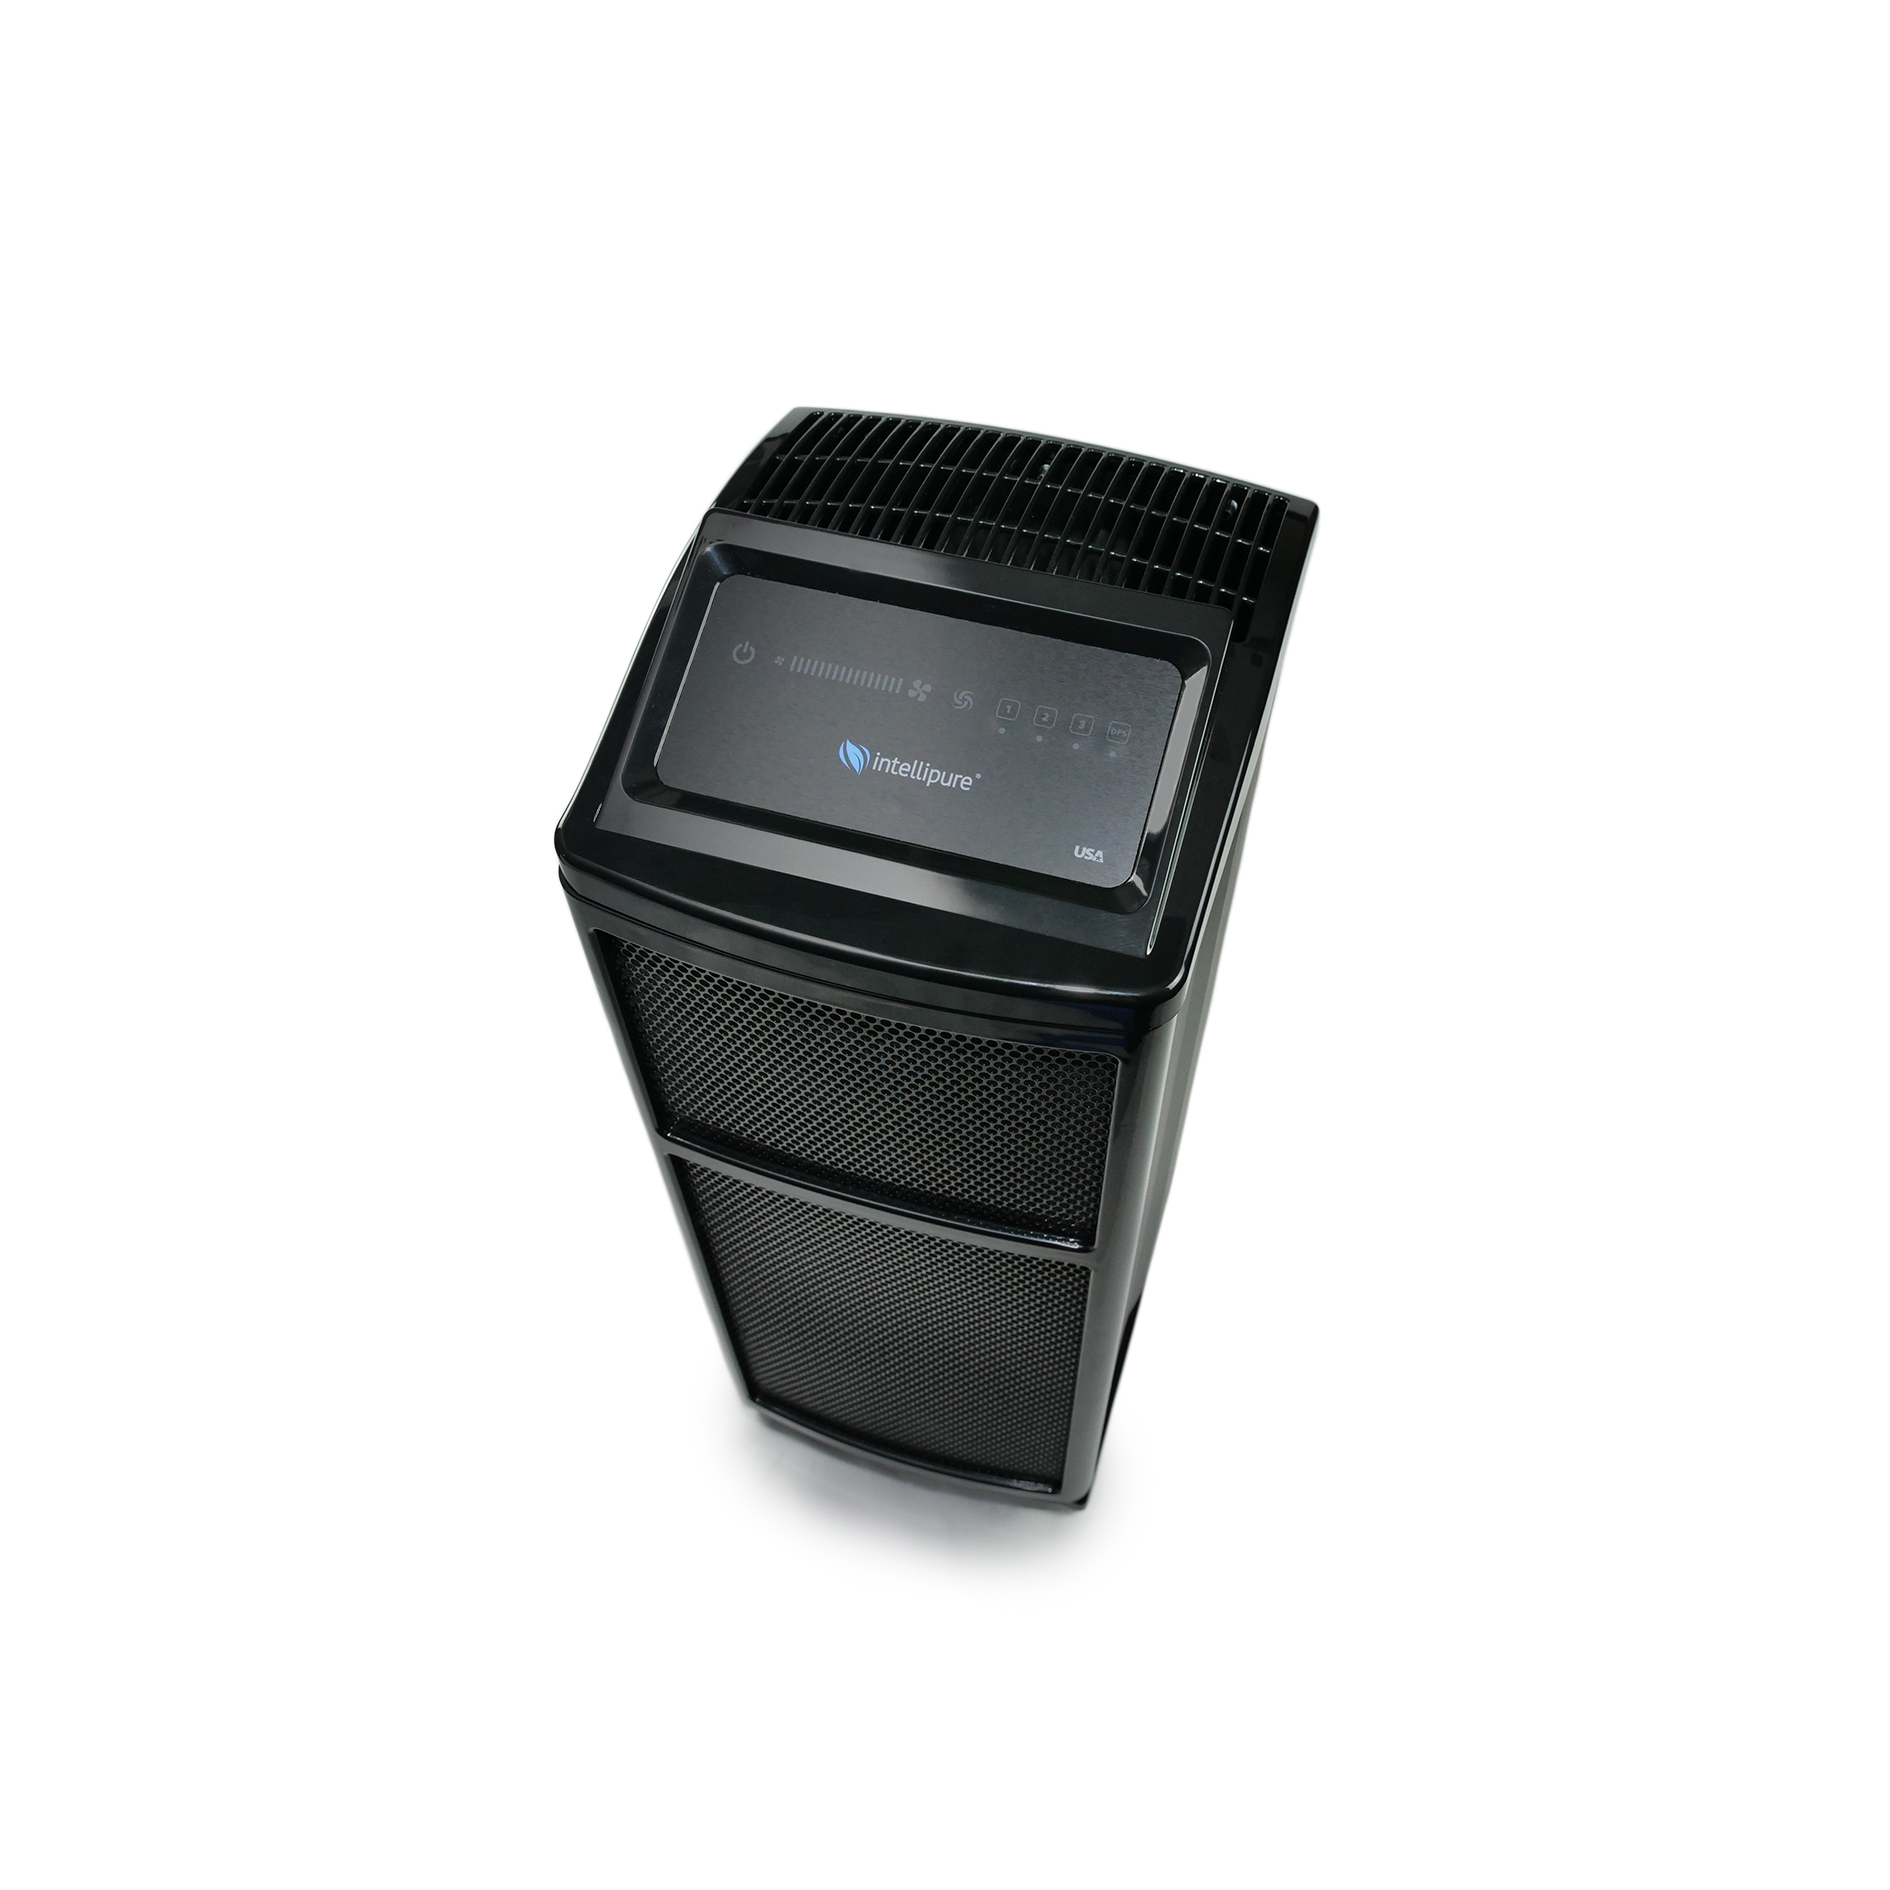
a) Power button
b) Sleep mode
c) Slide speed control
d) High speed
e) Turbo mode

